My Attire
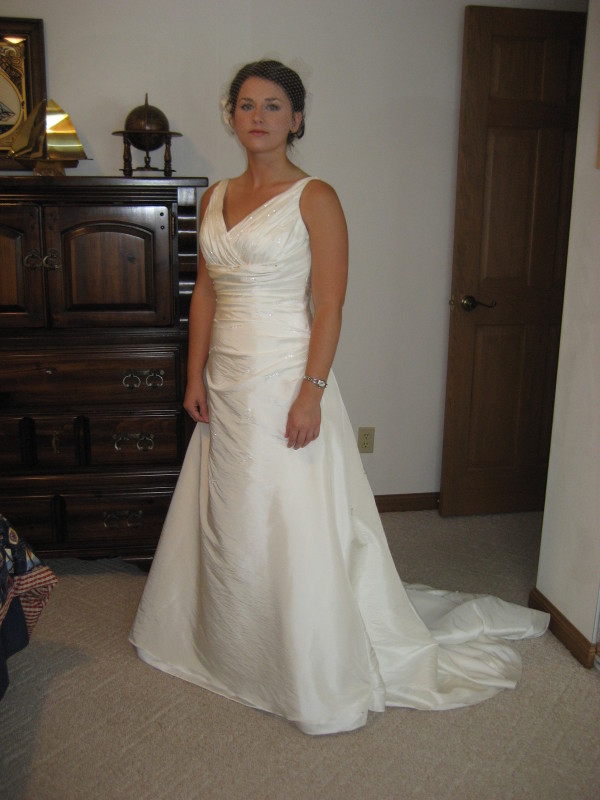
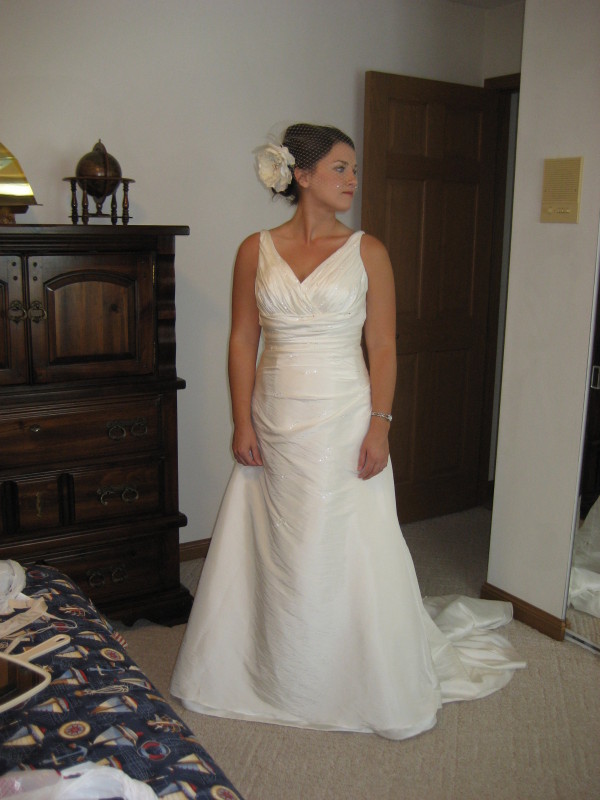
My Dress

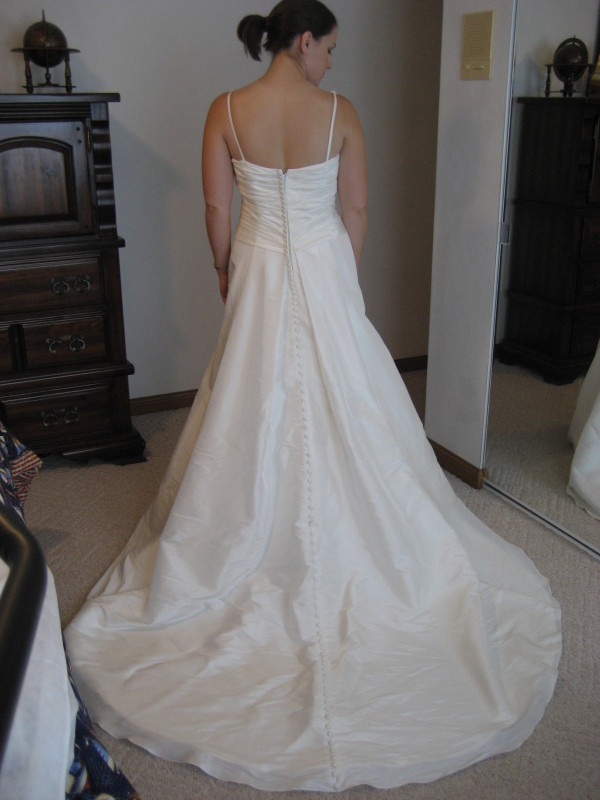
Casablanca 1831 in Ivory
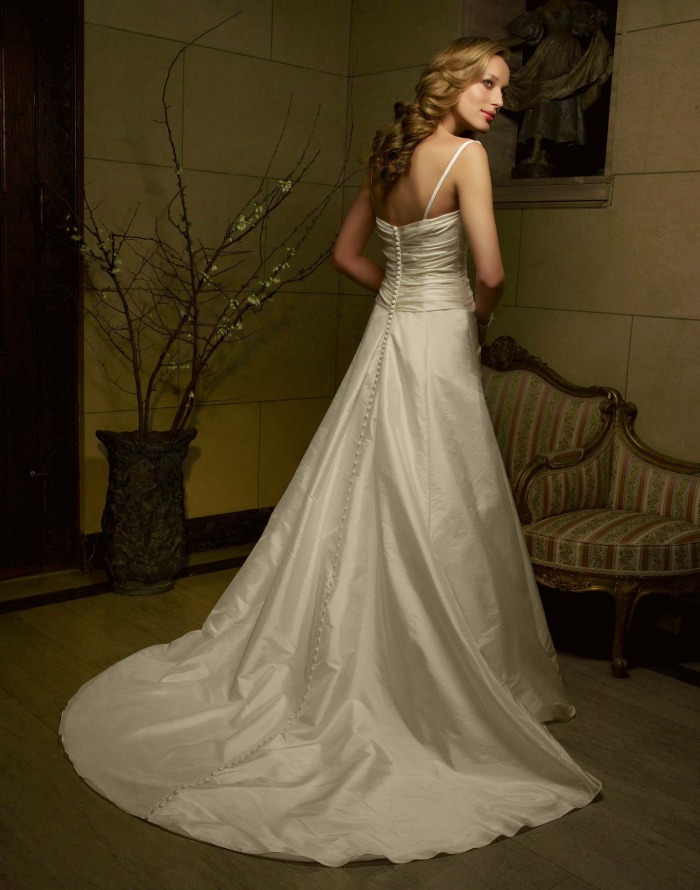
The back. I will be doing a French bustle on the train
My Accessories
Shoes
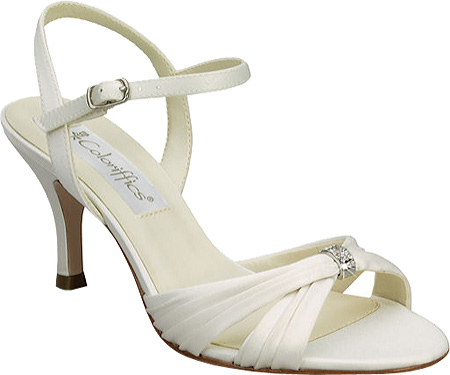
Coloriffics Tori in Ivory
Clutch
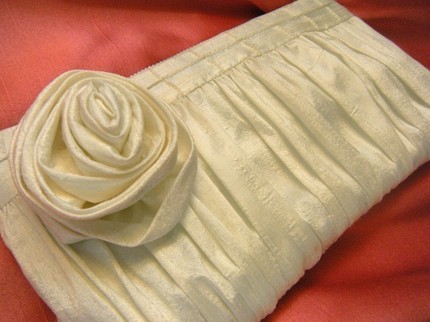
Ivory silk dupioni clutch purchased from etsy seller yensew
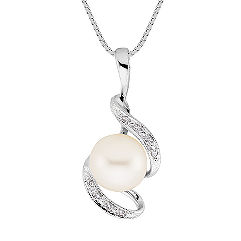
Jewelry

I'll be wearing the earrings & necklace John bought me for Christmas.
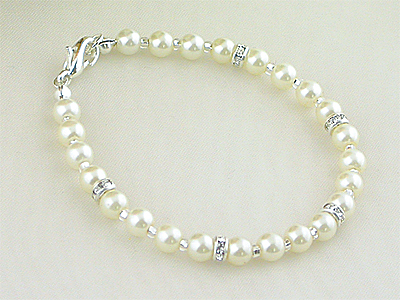
Bracelet from 2-Be-Unique dot com
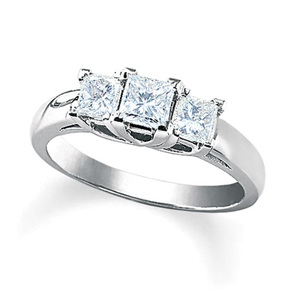
This is similar to my engagement ring- 14k white gold with one ktw princess cut diamonds in a tulip setting
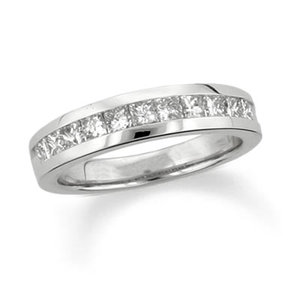
My wedding band- 14k white gold band with 0.5 ktw princess cut diamonds
Fascinator

I'm going to try to make something similar to this hairpiece, but without the lace and adding some more feathers.
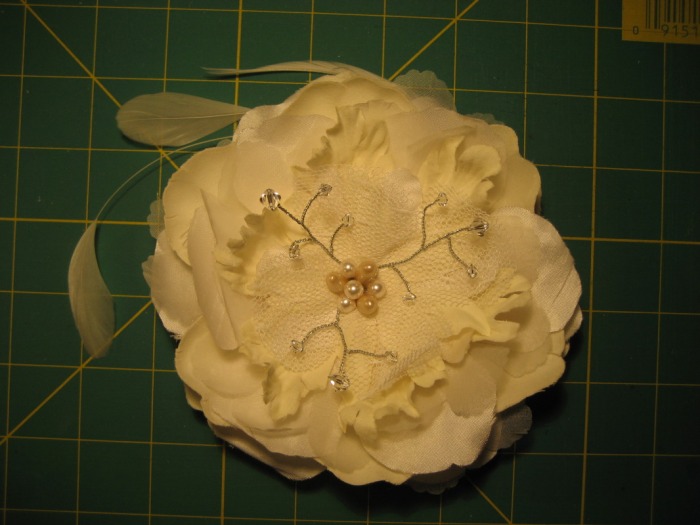
DIY Fascinator
Here's how my homemade fascinator turned out! I LOVE it and am so happy I took a shot at making it myself instead of paying $50+ for the one I originally wanted on Etsy!

How I Made It
I bought an ivory silk peony from Micheal's, removed the plastic from the back, and took the petals apart. I held it up to my head to decide how large I wanted it to be. I wanted my fascinator to make a big statement so I made mine pretty large, about 5 inches across. I started with the largest piece for the base. Then I also bought 1/8 yards of fabric from Joann's: white dupioni silk and a white netting with a small polka dot pattern. Since my dress is a light ivory color I wanted the flower to have varying shades of white and ivory. The silk flower was a dark ivory so I wanted to lighten it up with some white fabric. I also used some vintage pieces- I bought some vintage off-white silk organza flowers and some vintage wax stamens from this website, which has a lot of vintage millinery supplies. The organza flowers are from the 1950's-60's and the stamens are from the 1930's, so my fascinator will be my "something old". I also took the organza flowers apart and ironed all the wrinkles out. Then I took the pieces of fabric I had bought and used the petals from the silk peony as a stencil. I traced around petals of varying sizes and cut them out from the fabric to create fabric petals. Then I played around with layering the petals from the silk peony, the organza flowers, and the new fabric petals until I came up with something I liked. I borrowed cotton quilting thread from my mom (it's much thicker than regular thread), held all the layers together tightly, and stitched them together. All I did was make an X pattern through the center of the layers several times, until everything felt really secure.
For the beaded wire detailing: my fiance actually made these, because I tried and was terrible at it! He has experience with jewelry making and I knew he would have a much better time with this, so I showed him my inspiration picture (above) and he made them. He bought silver jewelry making wire from Michael's in 24 gauge width and used different kinds of pliers (needle-nosed, etc.) to twist the wire. I also bought clear Swarovski beads from Michael's and he strung them onto the wire in different places. I wish I had better instructions for this, but he did this while I was working on the other parts, so I didn't watch him! Basically you just fold a long length of wire in half and start twisting it to get the desired look. You'll want to start with the longest part of the branch first, and then have the smaller lengths branch off from that. I wish I had a better tutorial! When he was finished making the wire piece, I just used the same thread and stitched the wire to the flower in a couple places.
The last couple parts of the fascinator were the hardest: gluing on the pearls and feathers, and sewing on the hair comb. After the wire was in place, I cut the ends off a few of the vintage wax stamens. I also had some white Swarovski pearl beads from Micheal's and I tried to arrange the two together in the center of the flower. Once I figured out the placement, I used E-6000 glue to glue them into place. This stuff is messy and stinky, but powerful! I found the best way to use it is to squirt a small amount (because it dries quickly) onto a scrap piece of cardboard and then use a toothpick or a Qtip to apply glue to the item you're gluing. Then hold it in place for a couple minutes until it sets, let it dry, and whatever you glued will not be coming off!! I glued all of the pearls and stamens into place, let them dry, and then moved onto the feathers. I purchased stripped coque feathers in natural white and goose biots in white from Lamplight Feather. I'm not sure if they're the cheapest out there, but I knew what type of feathers I wanted and the local craft stores didn't have them. I also didn't want a TON of feathers, so I went with this company. I chose the feathers I wanted to use, placed them on the back of the flower, and carefully glued them into place. I had to hold them in place for several minutes until the glue dried because the feathers were stiff and would move. This part was the most frustrating, but after I learned I had to be patient and just hold the feathers until the glue dried, it went pretty smoothly. Then I took a 3.5" metal hair comb, placed it on the back of the flower, and whip stitched it securely to the back. This part was a little difficult- since I had glued the pearls and stamens to the front of the flowers I couldn't sew through ALL of the layers. So I had to sew the comb to the last petal layer (or two) only, and this was a tricky since my flower was a little bulky. But after finishing it I am really happy with it, and I saved myself a lot of money making it myself!
*Post wedding update- that glue really holds- my fascinator and everything on it held through the entire wedding day, and is still completely intact months later!
Birdcage Veil
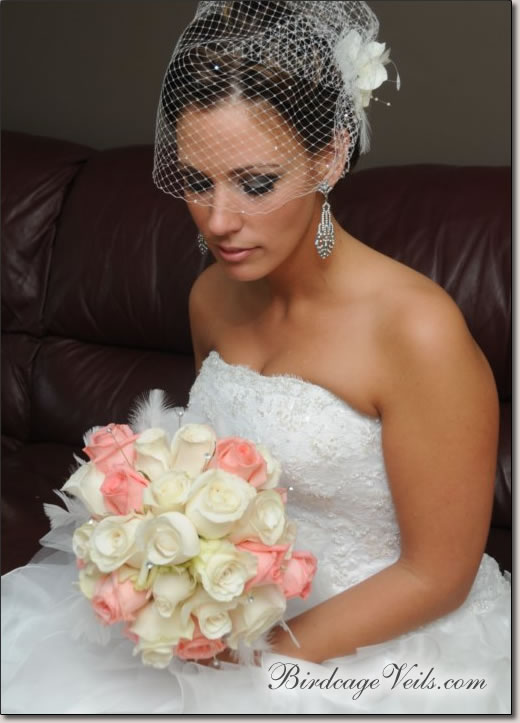
In addition to the feather fascinator I'm thinking about wearing a birdcage veil instead of a traditional veil. I'm also going to try to DIY the veil.
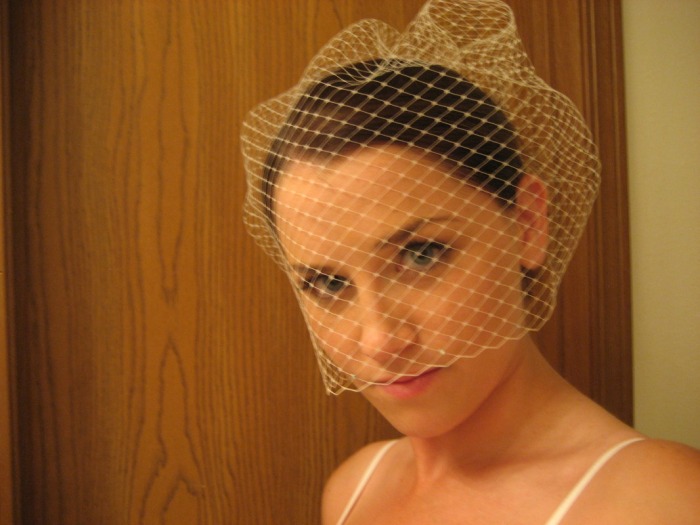
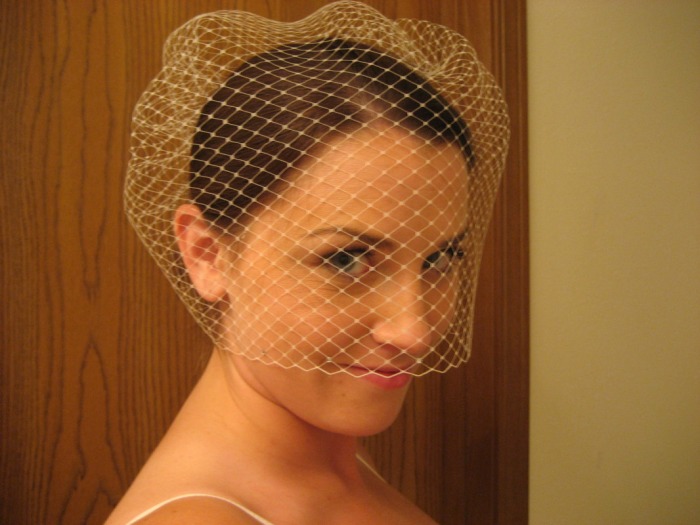
DIY Birdcage Veil
Here's how my homemade birdcage veil turned out! Pay no attention to my unstyled hair!
I spent a good part of an afternoon, with the help of my mom, making my veil. I found this tutorial to be extremely helpful. I purchased 2 yards of 18" wide ivory Russian veiling from a local fabric store (Anatol's in St. Louis) and ended up using about 3/4 of a yard of it to make my veil. Basically, I wrapped the veiling around my head to see how wide I needed to cut it. I knew it wouldn't take 2 yards, but I wanted to make sure I had extra in case I screwed something up! I also held it up against my face and positioned approximately where it would be attached to my hair on the back of my head and where I wanted it to fall on my face. I wanted a medium length birdcage- one that fell just below my nose and just above my lips. From this measurement I cut off the amount of veiling needed to make it that length and started sewing according to the above tutorial. That part took a little trial and error. The first go at it gave me an extremely poofy veil. So I pulled the thread out, cut more of an angle off the corners of the veiling, and sewed it up again. I wanted enough room so that my wedding day hairstyle wouldn't be smooshed, but not so much room that the veil stuck up off my head. The second time was perfect, so I knotted up the thread and whip stitched the veil to a 1" metal comb. This was the only part of the above tutorial I didn't follow- I felt that gluing ribbon to the comb was unnecessary, and in the end it worked just fine.
First Fitting- 9/5/09
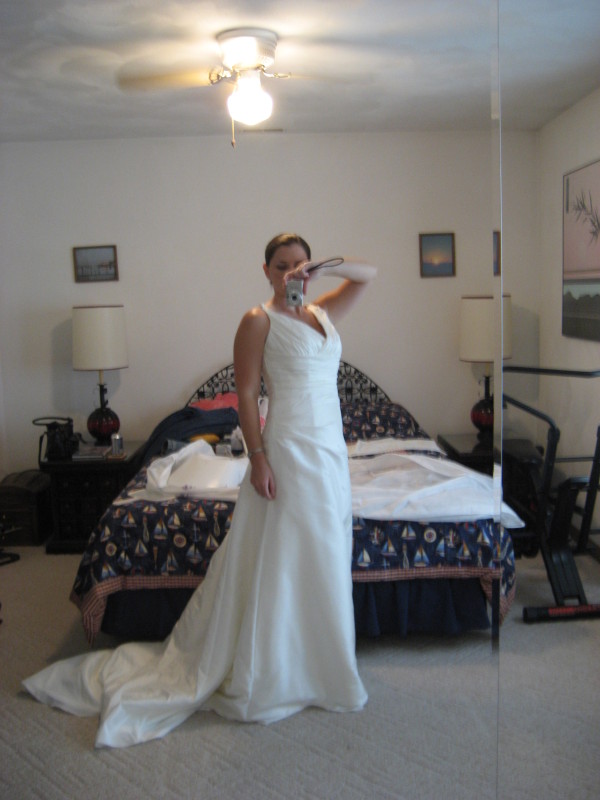
Luckily for me, my mom is an experienced seamstress and has worked on wedding gown alterations for David's Bridal. So that means free alterations and I can try on my gown pretty much whenever I want!! Please excuse the blurry pics- it's difficult to take clear pics without a flash, and I quickly discovered that taffeta does not work well with camera flashes! Today mom pinned where the skirt will need to be hemmed, how much needs to be taken out of the straps, and we also discovered she will need to take 2 inches from the waist but only in the back! Unfortunately, that's going to be a pain for mom, but it sure felt good to know the 10 lbs I've lost came from somewhere- even if it was from my back!
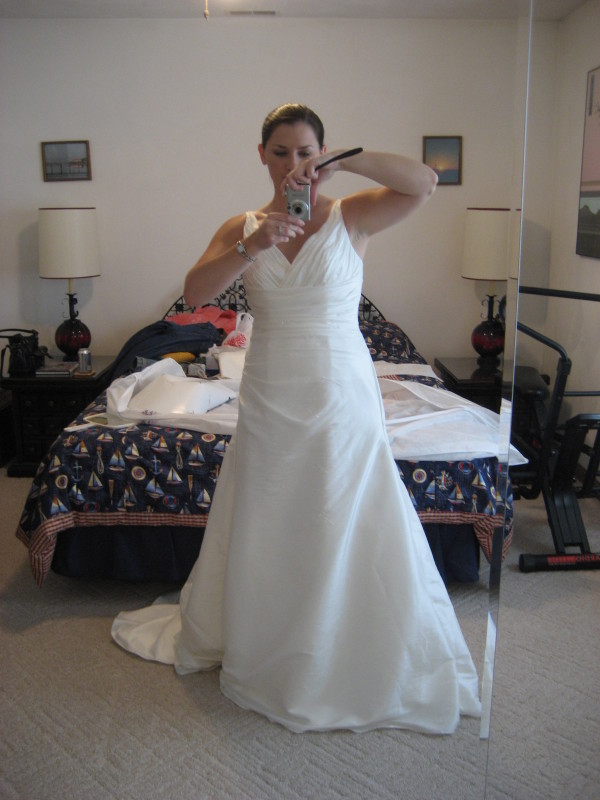
First time trying it on since April and since losing 10 lbs.

I love the train! And it's so lightweight since it's made of taffeta!
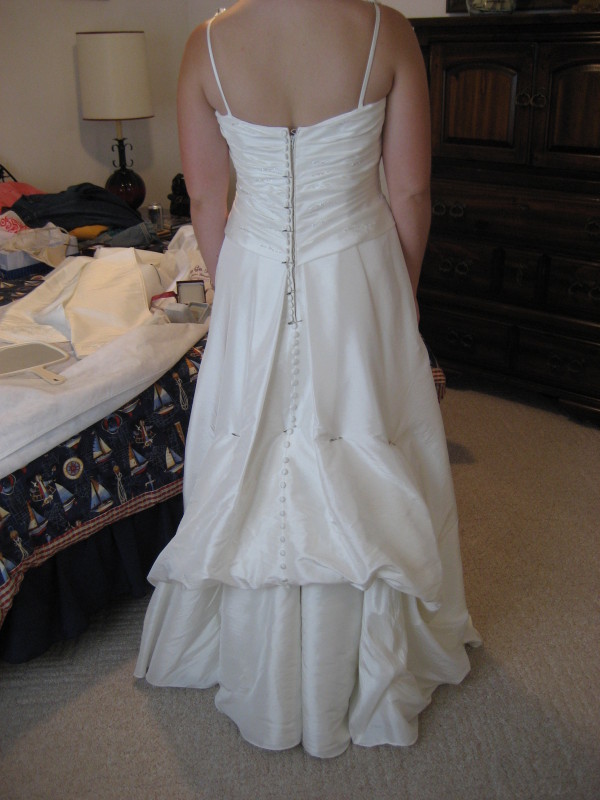
Something like what it will look like bustled. We are doing a 7 point French bustle.
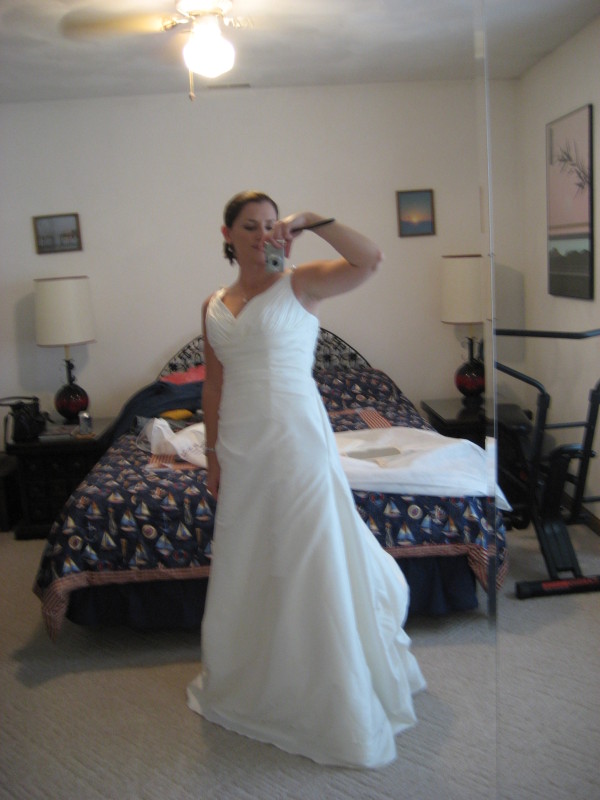
A shot of it bustled from the front.
Second Fitting- 9/26/09 (with veil & fascinator)
Here are some photos from my second fitting. The straps were shortened, the sides we taken in, and the v-neck area was altered so that my cleavage is not hanging out anymore. Prior to that it was very loose and you could completely see my bra when I bent over. Now I feel completely covered and comfortable. Also, the pleating around the bodice was modified slightly to make my bust area more flattering and also to let more of the bead work show. I absolutely love my dress now, especially with the sides taken in- it gives me much more of an hourglass figure!. The only thing left is the hem and the bustle! I also had my hair trial just before my fitting, so you can see what my hair is going to look like, and what it looks like with my veil and fascinator on. I'm loving it!!
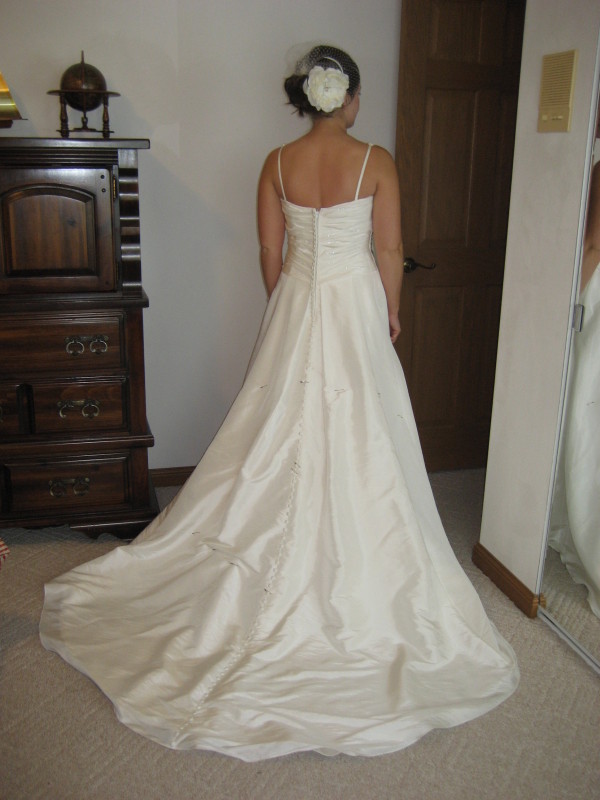
All of the safety pins are to mark the placement of the French bustle.
Something Old, Something New, Something Borrowed, Something Blue
My something old will be in the fascinator I'm wearing. I purchased some antique millinery items online and will be including vintage chiffon petals from the 1950's/1960's in the flower itself and some vintage wax stamens from the 1930's will be in the center of the flower.
My something new will be my shoes, clutch, and jewelry.
My something borrowed will be my grandmother's wedding band and engagement ring. After she passed away several years ago, my mother inherited the set and she will be letting me borrow the rings on my wedding day. Wearing my grandmother's rings will help me to feel like a part of her is right there with me.
My something blue will be my undergarments!
